
Last updated September 23, 2026
Free visual inspection and a written scope of work before any mitigation begins - photos, moisture readings, and drying logs go in your claim file
The scope we write is the scope we bill. Anything new gets shown to you, in writing, before we touch it.

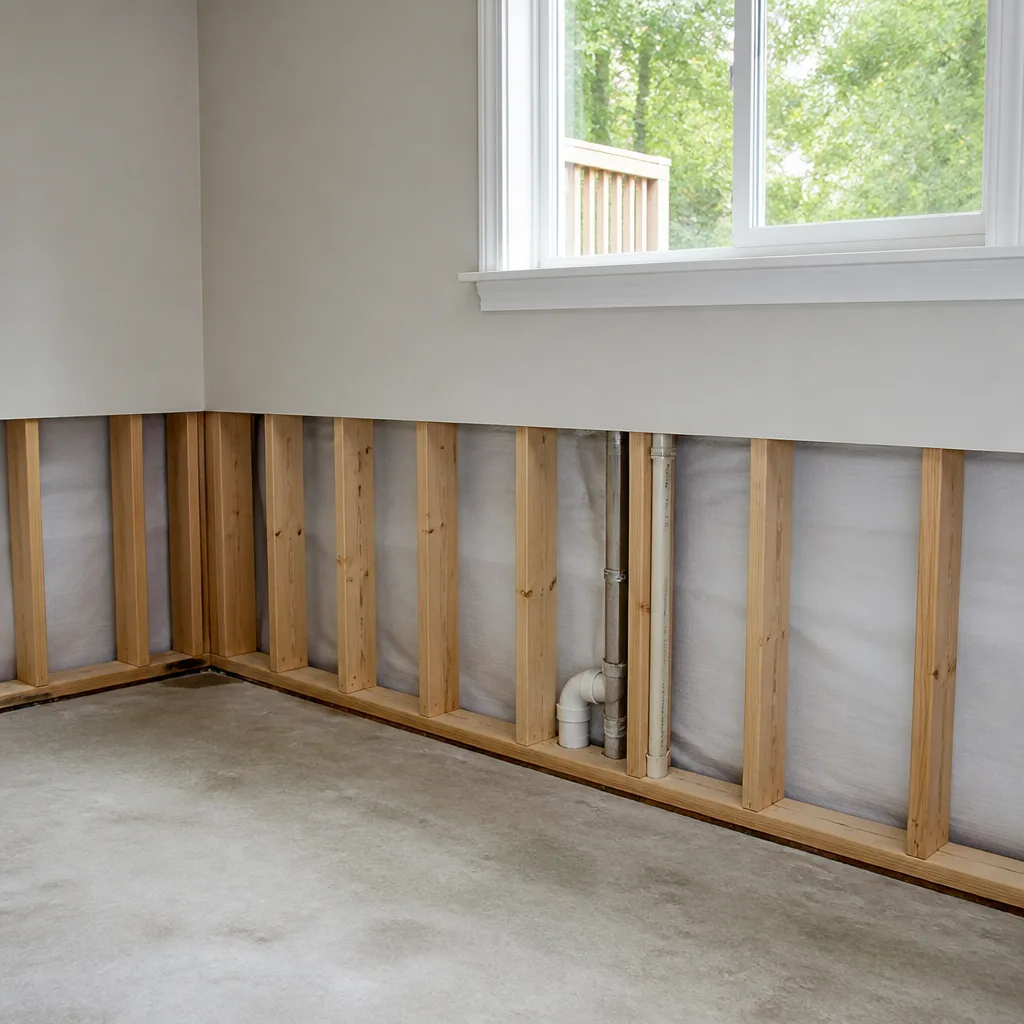


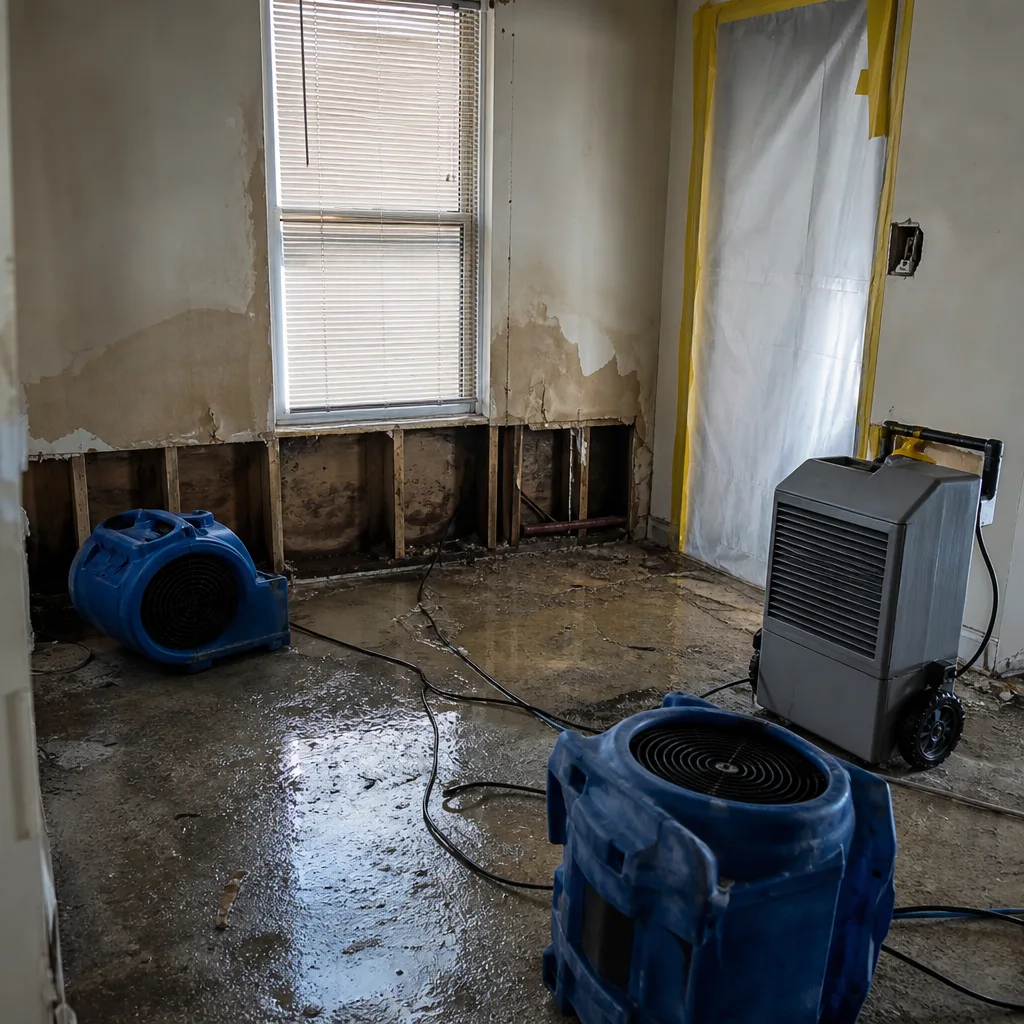 Before
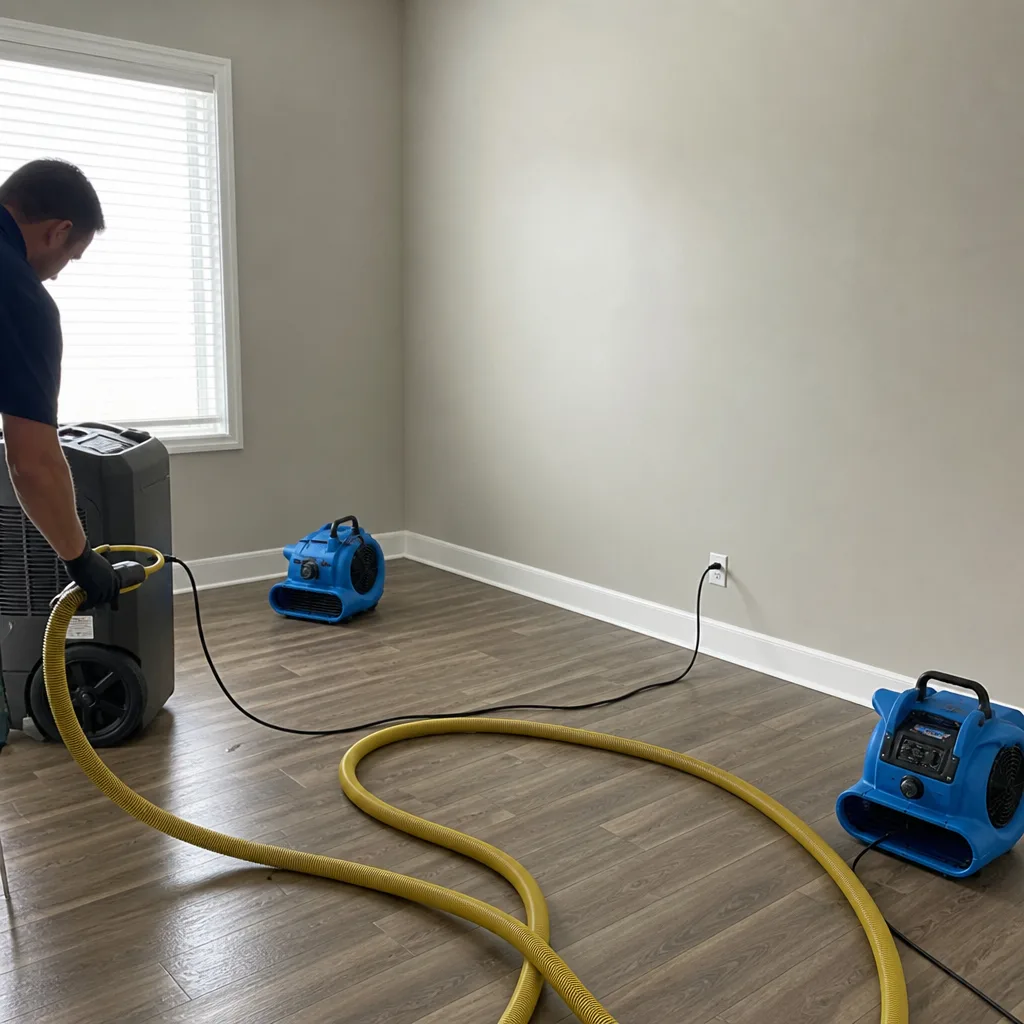 After
After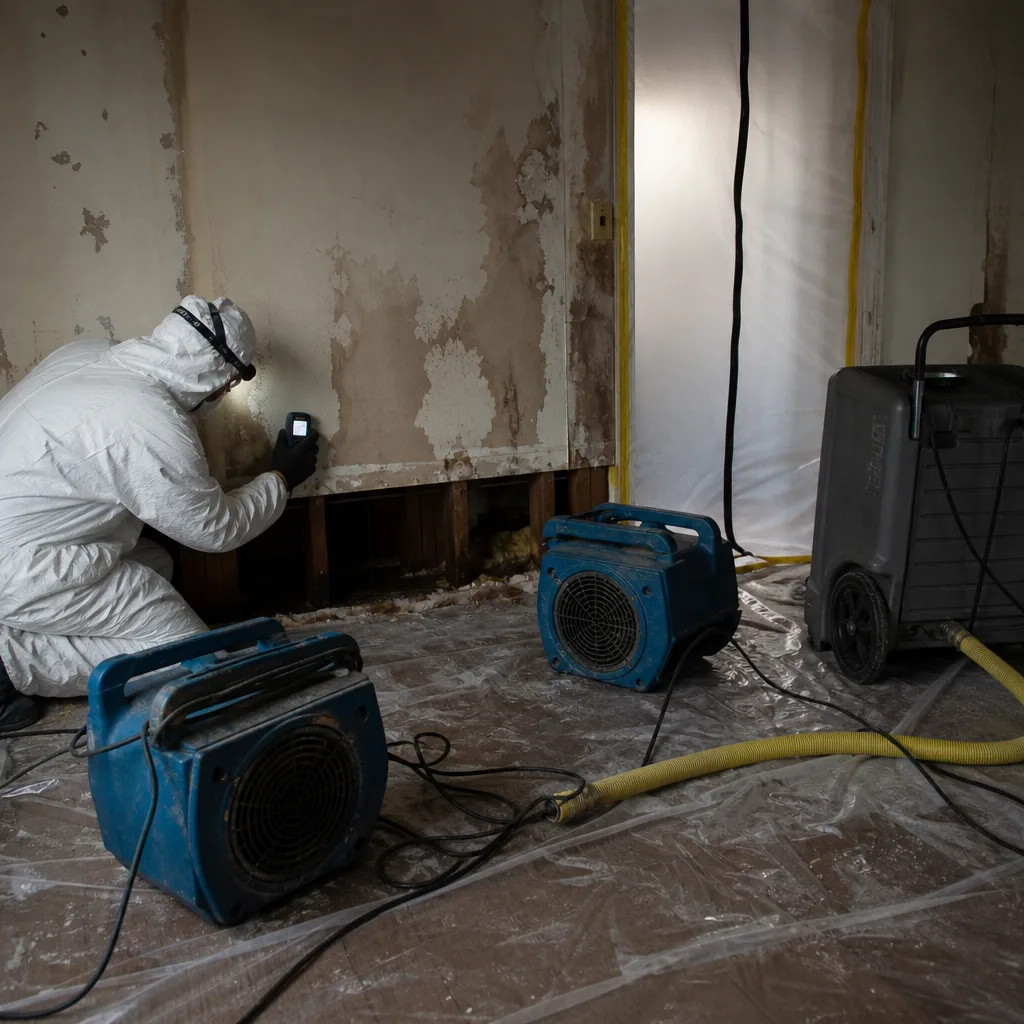 Before
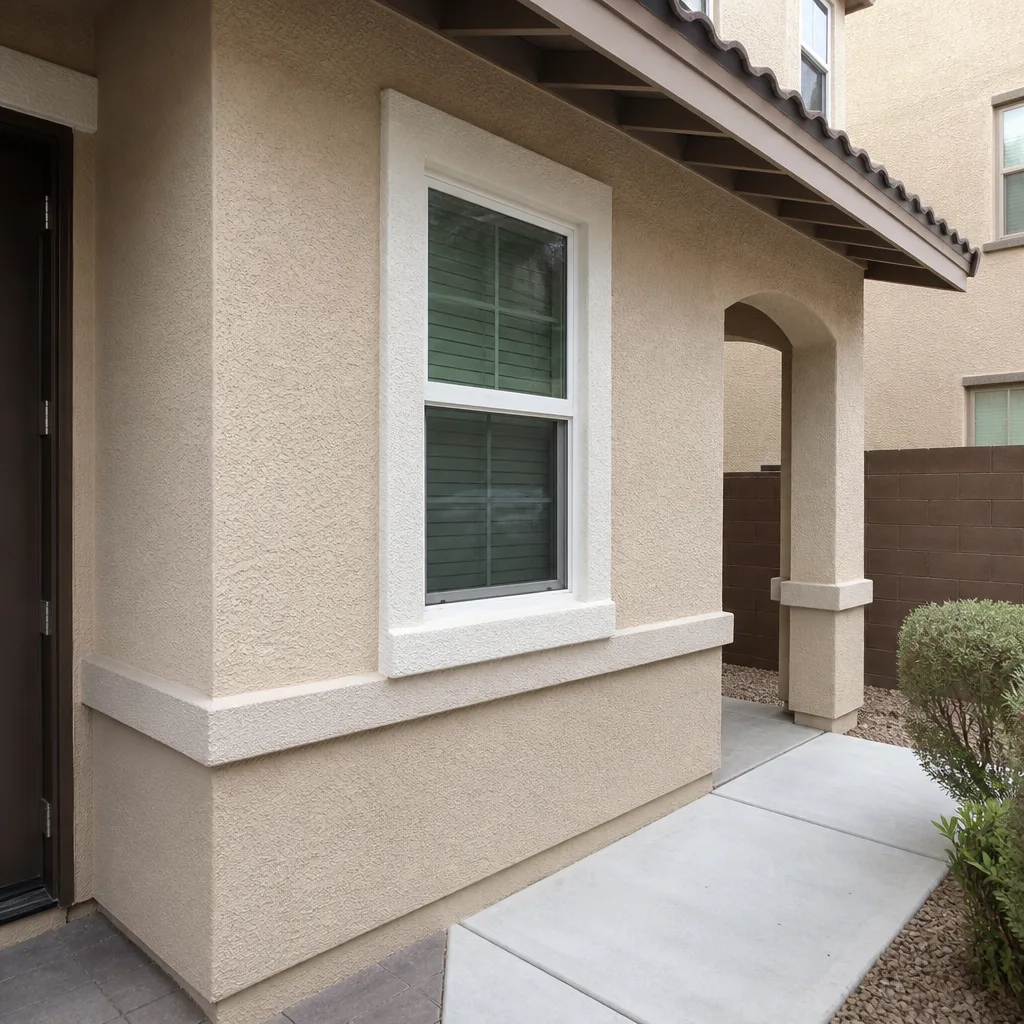 After
After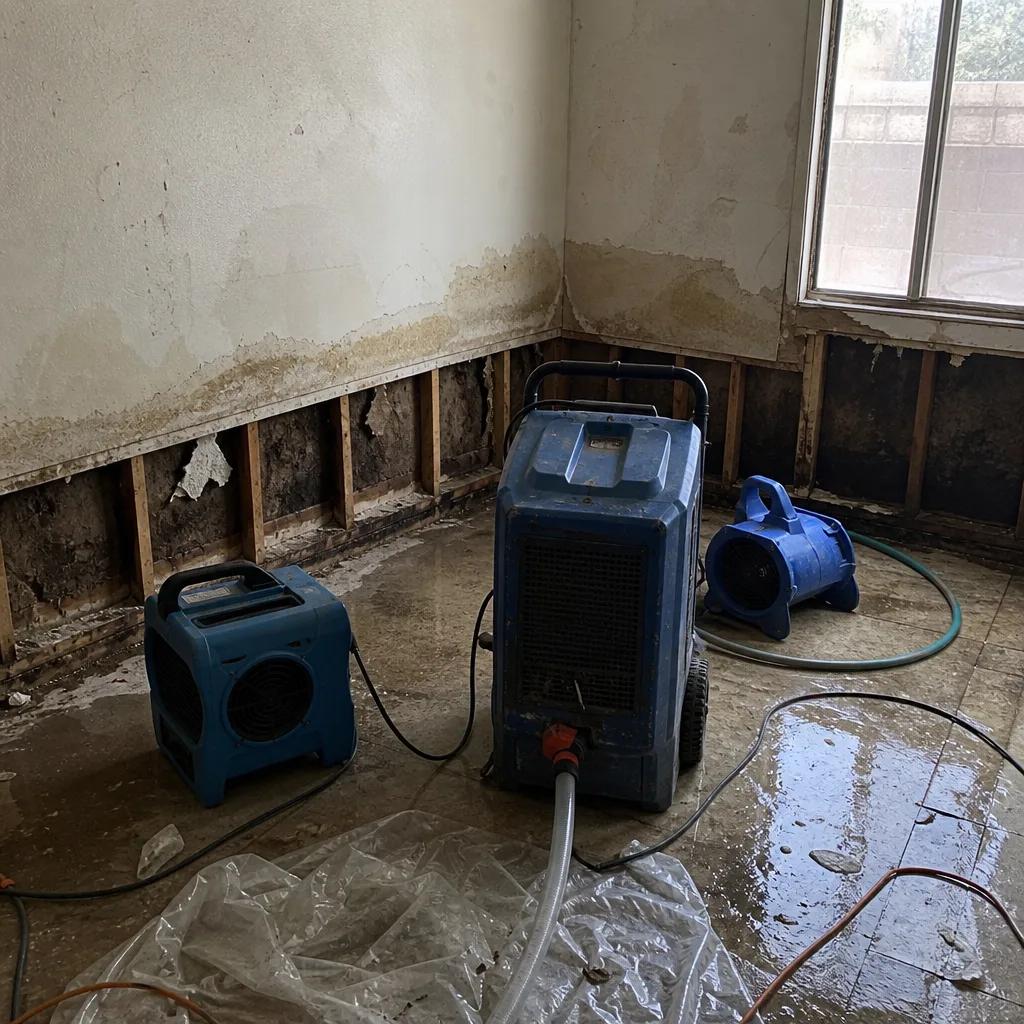 Before
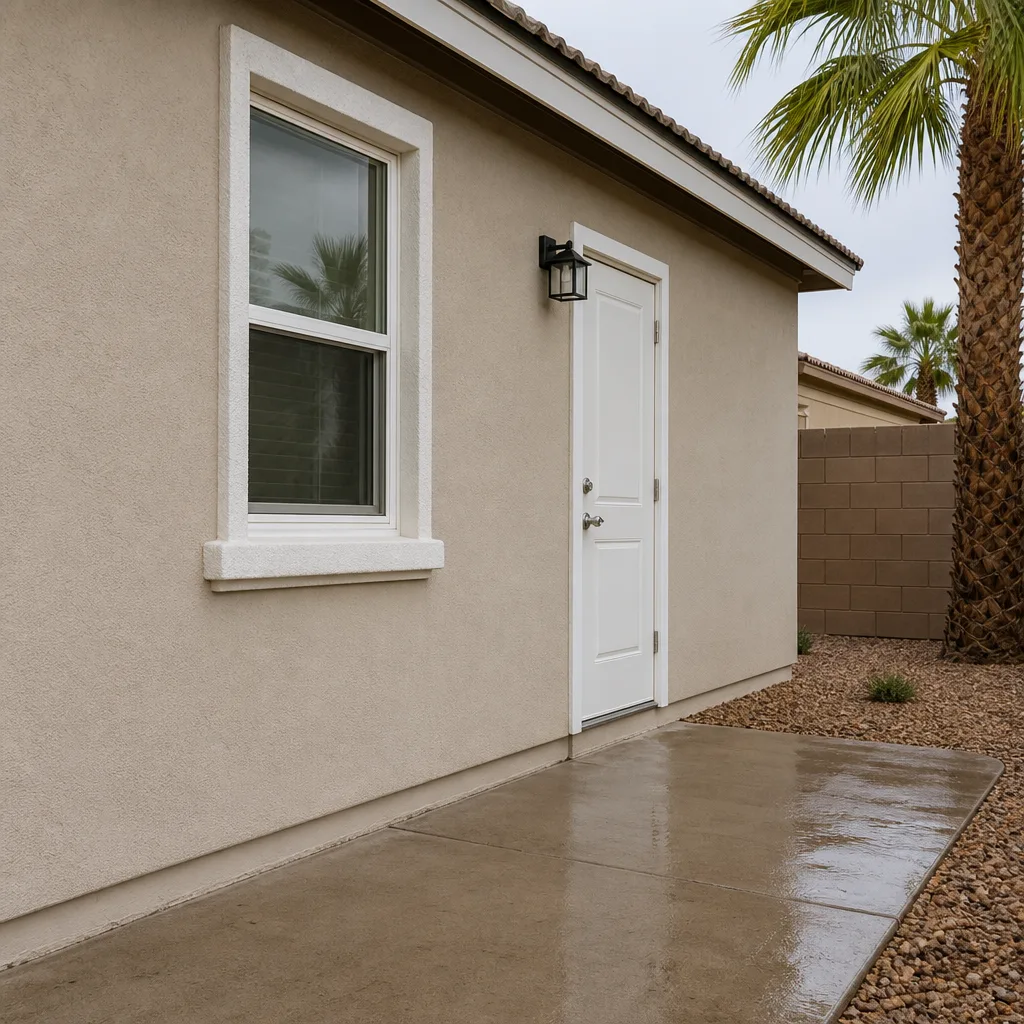 After
AfterWater Damage Restoration Maintenance Checklist for Las Vegas Homeowners
Evaporative coolers cause more ceiling water losses in Las Vegas during May and September than any other residential appliance, yet they appear on exactly zero of the top-ranking maintenance checklists for this city. That’s because most prevention guides borrow from humid-climate templates built for gutters, downspouts, and basement sump pumps - problems that barely register in a desert market where homes sit on concrete slabs, roofs are flat or low-slope, and whole-house cooling systems dump gallons of water into attic spaces twice a year. In this Water Damage Restoration guide, we’ll build a maintenance checklist around the actual failure points we’ve documented across 12,000+ Las Vegas restoration jobs since 2011: aged polybutylene supply lines, failing expansion joints in stucco, and evaporative cooler pan overflow. You’ll learn how to inspect each, what to measure, and how to document your home’s pre-loss condition so any future claim starts from evidence, not argument.
Quick Answer
A complete water damage prevention checklist for Las Vegas homeowners includes annual baseline moisture readings for every room, quarterly inspection of three at-risk supply line materials common in 1978-1995 construction, biannual evaporative cooler pan and float valve checks before season changes, and annual stucco expansion joint and weep screed evaluation with photo documentation dated and stored off-site. Homes built before 1996 in Las Vegas neighborhoods like Summerlin, Henderson, and North Las Vegas face elevated risk from polybutylene piping and original expansion joints now exceeding their designed service life.
Table of Contents
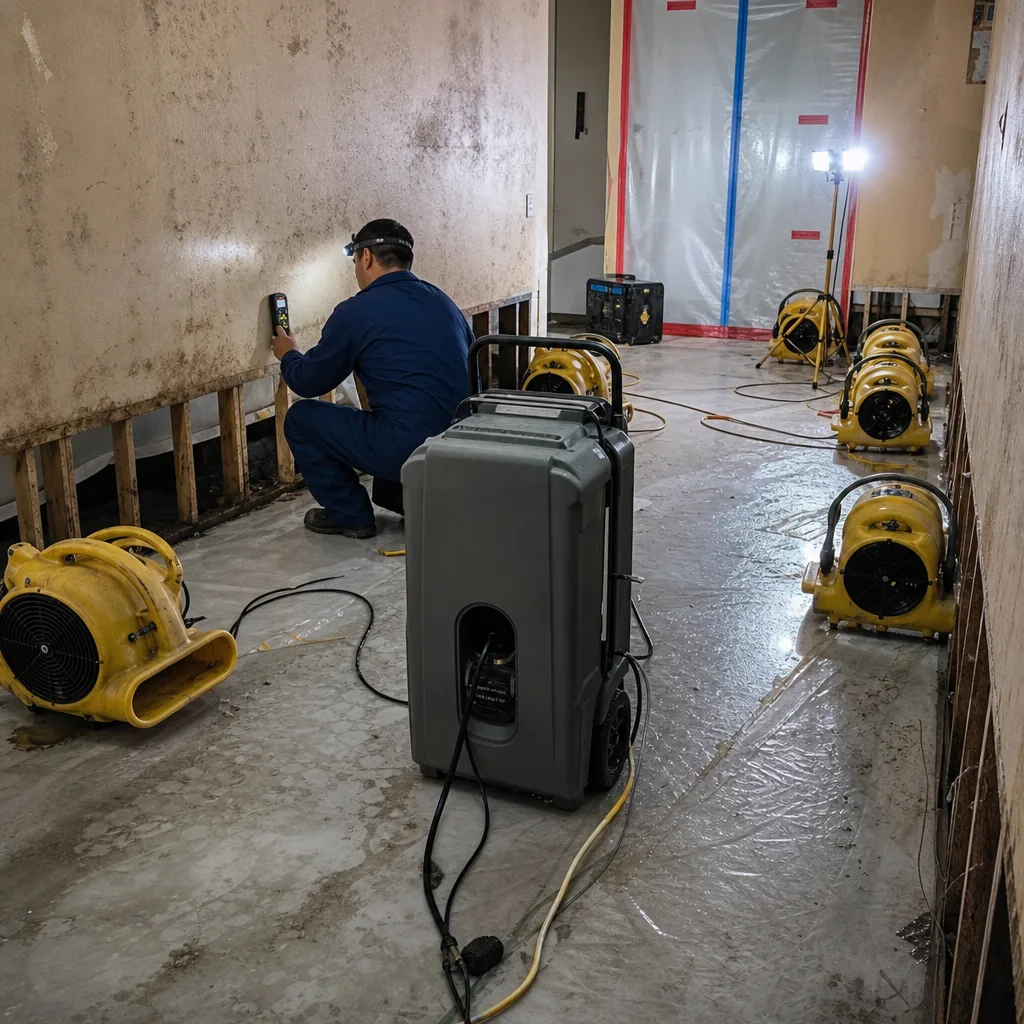
- Why Las Vegas Homes Fail Differently
- Room-by-Room Inspection Checklist
- Baseline Moisture Readings: Your Pre-Loss Documentation
- The Three Supply-Line Materials That Still Fail in Las Vegas
- Stucco Expansion Joint and Weep Screed Protocol
- Evaporative Cooler Maintenance: The Overlooked Ceiling Risk
- How to Photograph and Date Your Pre-Loss Condition Record
- Annual Maintenance Calendar
BeforeAfterWhy Las Vegas Homes Fail Differently
Las Vegas construction norms create a distinct risk profile that humid-climate checklists miss entirely. Single-story stucco exteriors on concrete slab foundations dominate the market, particularly in neighborhoods built during the 1980s and 1990s housing booms. Flat or low-slope roofs with internal drainage scuppers replace pitched roofs with gutters. Whole-house evaporative cooling or split HVAC systems replace the ducted forced-air configurations common in the Midwest and Southeast. These aren’t cosmetic differences. They change where water enters, how it travels, and what fails first.
We’ve documented the pattern across thousands of Las Vegas jobs. Water damage here typically originates from three sources that humid-climate guides ignore: pressurized supply lines inside walls and slabs, bulk water intrusion through stucco system failures at horizontal surfaces, and appliance overflow from cooling equipment mounted on roofs or in attics. The desert climate itself contributes to failure modes. Extreme daily temperature swings, 110°F summer peaks, and sub-10% relative humidity stress caulking, sealants, and flexible connectors far beyond their design specifications.
The water damage restoration in Las Vegas that we perform most often traces to preventable failures in systems that standard home inspection reports mark as “serviceable” because the inspector applied national, not local, criteria. A national checklist might flag a gutter separation. It won’t flag a weep screed buried below grade on a 1987 Paradise home, or a polybutylene supply line with the characteristic gray discoloration that precedes brittle fracture.
Local code evolution matters too. Clark County adopted significant stucco installation amendments in 1997 and again in 2004, primarily around drainage plane continuity and expansion joint spacing. Homes built before these amendments, particularly in Spring Valley and the original Summerlin parcels, carry systemic water management vulnerabilities that no amount of interior caulking will address. Understanding your home’s construction vintage and the code regime under which it was built is the first step in targeting your maintenance effort where it actually protects value.
Room-by-Room Inspection Checklist
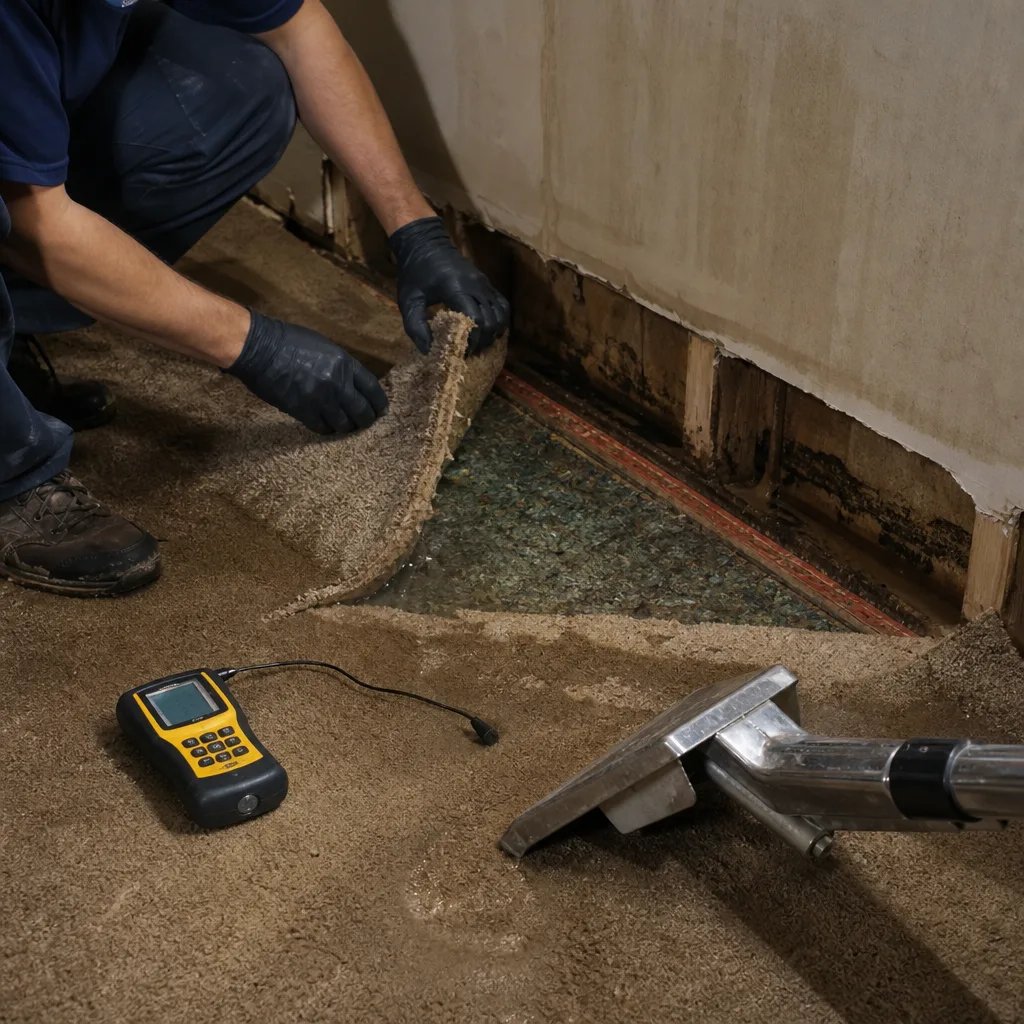
This checklist is organized by the actual water risk present in typical Las Vegas homes, not by generic room function. Use it quarterly for high-risk areas, annually for standard areas.
Kitchen
- Inspect dishwasher supply line: if braided stainless, check for corrosion at the compression fitting; if copper, check for work-hardening green discoloration at bends; if original polybutylene, schedule replacement regardless of visible condition
- Run sink at full volume for 60 seconds, then inspect cabinet floor with flashlight for active dripping or prior staining
- Check refrigerator icemaker supply: saddle valves are prohibited by current code but common in pre-2000 Las Vegas homes; replace with proper stop valve
- Verify garbage disposal discharge hose clamp is tight and hose shows no fatigue cracking
Bathrooms
- Toilet: add food coloring to tank, wait 15 minutes without flushing; color in bowl indicates flapper or fill valve leak wasting 200+ gallons daily
- Tub/shower: inspect caulking at tile-to-tub junction for separation; in Las Vegas, silicone caulking typically fails in 18-24 months due to thermal cycling
- Vanity: remove items, run hot water for 90 seconds, inspect trap and supply stop valves with mirror; look for prior moisture staining on cabinet floor
- Exhaust fan: verify 50 CFM minimum operation; humidity trapped in Las Vegas bathrooms during winter heating season causes condensation damage in exterior wall cavities
Laundry Room
- Washing machine: rubber supply hoses fail predictably at 5-year intervals in Las Vegas heat; replace with braided stainless, and verify burst-proof auto-shutoff connectors
- Drain standpipe: verify 18-30 inch height to prevent siphonage overflow; common installation error in slab homes with limited vertical space
- Floor drain: pour one gallon water to maintain trap seal; dry traps allow sewer gas entry and are common in Las Vegas where floor drains see seasonal use only
Water Heater Location
- Document installation date; tank water heaters in Las Vegas garages fail at 8-12 years due to thermal expansion stress on glass lining
- Verify temperature-pressure relief valve discharges to exterior or proper floor drain, not just onto slab
- Inspect expansion tank pressure annually if present; required on closed systems but often omitted in pre-2010 installations
Evaporative Cooler / HVAC Closet
- Inspect float valve operation: lift manually, verify clean shutoff; mineral deposits from Las Vegas hard water cause 40% of cooler overflows we respond to
- Check pan condition: galvanized steel pans rust through in 7-10 years; plastic pans crack at mounting points
- Verify overflow drain is clear and discharges to exterior, not onto ceiling drywall
- Inspect ductwork plenum for prior water staining indicating historical overflow events
Exterior / Stucco
- Walk perimeter with screwdriver: probe weep screed at slab interface; should be visible minimum 4 inches above grade, not buried by landscaping or hardscape additions
- Inspect expansion joints at 144-square-foot intervals or at floor-line changes; joint sealant should be flexible, not hardened or separated from substrate
- Check window and door penetrations: stucco returns should show continuous sealant; absence indicates water entry path during wind-driven rain events
Baseline Moisture Readings: Your Pre-Loss Documentation
Every water damage claim in Las Vegas eventually faces the same adjuster question: “How do we know this moisture isn’t pre-existing?” Without documentation, the burden shifts to the homeowner to prove sudden and accidental loss. With documentation, the burden stays where it belongs. We recommend every Las Vegas homeowner establish annual baseline moisture readings using an inexpensive pin-type moisture meter, available for $25-$40 at hardware stores or online.
A pin-type meter works by measuring electrical resistance between two probes inserted into the material. Wood, drywall, and concrete each have distinct acceptable ranges. For Las Vegas’s climate zone (Köppen BWh, hot desert), the following baselines apply:
- Framing lumber (studs, sill plates): 6-10% moisture content. Readings above 12% indicate active moisture source requiring investigation.
- Drywall (interior, conditioned space): 5-9% moisture content. Readings above 12% indicate water contact within 48-72 hours.
- Concrete slab (garage, patio, interior floor): 3.5-4.5% moisture content by calcium chloride test, or equivalent pin-meter reading calibrated to concrete scale. Elevated slab moisture in Las Vegas typically indicates plumbing leak or vapor barrier failure, not ambient humidity.
Record readings in a consistent location annually: the same stud bay in each exterior wall, the same garage slab corner, the same interior drywall panel. Note the date, ambient temperature, and whether the reading was taken before or after monsoon season (July-September). Store this record with your insurance documents and homeowner files.
In our experience, homeowners who present a three-year moisture log with documented baselines receive faster claim approvals and fewer coverage disputes. The DryMark Restoration Las Vegas home team builds every restoration file around this principle: evidence first, argument second. Your own annual readings become the foundation we can reference if professional documentation is ever needed.
Procedural note: always calibrate your meter per manufacturer instructions, typically using a calibration block or known dry sample. Take readings at consistent depth; surface readings on painted drywall can read artificially low due to paint film resistance.
The Three Supply-Line Materials That Still Fail in Las Vegas
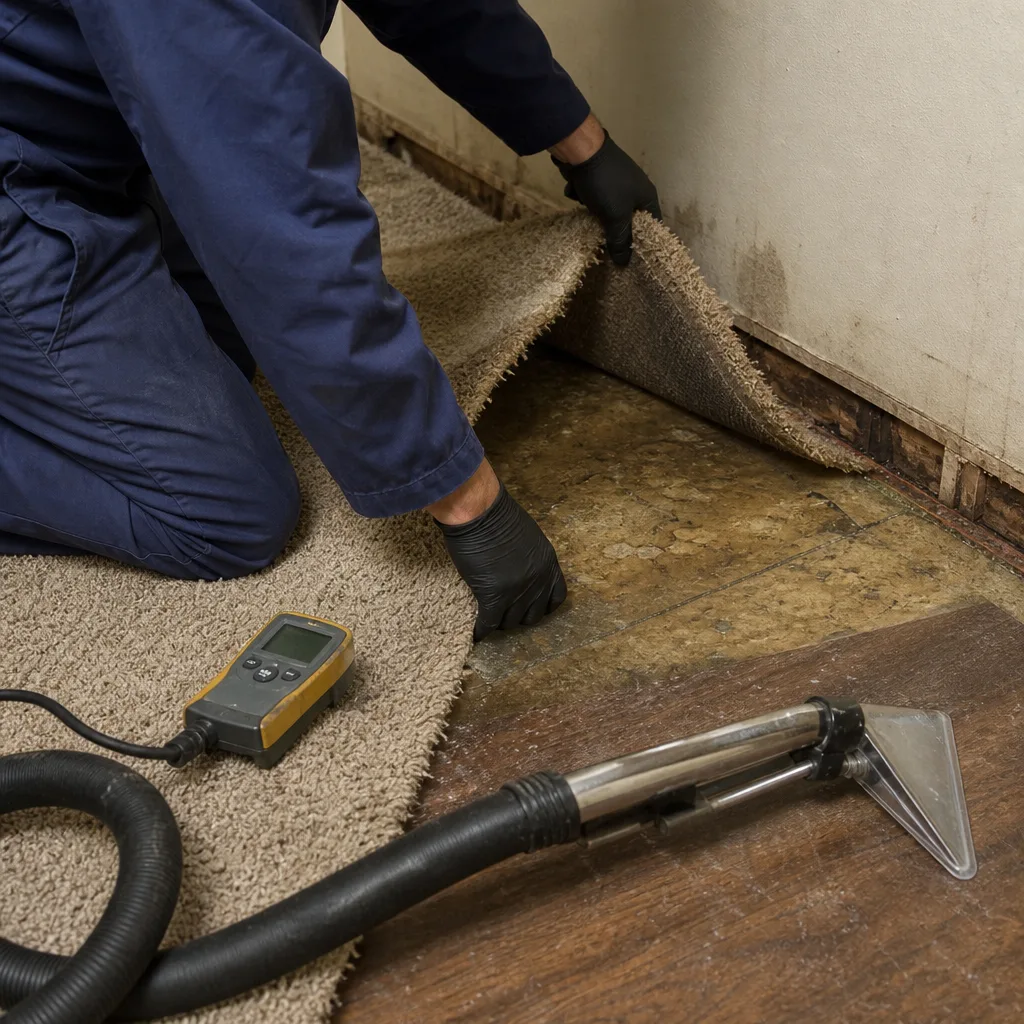
Homes built in Las Vegas between 1978 and 1995 contain three supply line materials with documented failure patterns that predict imminent burst before it occurs. Knowing what you have, and what to look for, prevents the emergency call at 2 AM.
1. Polybutylene (PB-2110)
Gray or blue-gray flexible plastic piping used extensively in Las Vegas from 1978 through 1995, when most insurers and building departments withdrew approval. The failure mechanism is chlorine-induced brittle fracture at stress concentration points: crimp fittings, bends, and areas of external abrasion. In Las Vegas, aggressive municipal chlorination accelerates the degradation timeline.
Inspection indicators: Gray discoloration or chalking on pipe exterior; visible cracking at fitting connections; “orange peel” surface texture indicating incipient degradation. If any are present, full replacement is indicated. Partial replacement fails because degradation is systemic, not localized. We’ve responded to dozens of Las Vegas homes where homeowners replaced the visible section under a sink while the buried slab line failed six months later.
Where to look: Main shutoff at street or meter box (Las Vegas homes often have curb-stop and private service line); water heater connections; visible attic or garage distribution headers; any exposed wall cavity during renovation.
2. Copper with Soldered Joints
Copper itself does not degrade, but soldered joints in Las Vegas homes show elevated failure rates due to thermal expansion cycling and, in pre-1990 installations, occasional use of 50/50 tin-lead solder that crystallizes at grain boundaries over decades.
Inspection indicators: Green or white corrosion at joint surfaces; visible solder crack or separation at cup-to-pipe interface; “work-hardened” pipe that rings when struck rather than thudding. Pay particular attention to 90-degree elbows and tee fittings, which carry highest stress.
3. Chlorinated Polyvinyl Chloride (CPVC)
White or cream-colored rigid plastic introduced as polybutylene replacement in early 1990s Las Vegas construction. More stable than polybutylene but susceptible to catastrophic splitting when subjected to freeze-thaw or when installed with excessive stress at supports.
Inspection indicators: Longitudinal cracks running length of pipe, often at mid-span between supports; discoloration indicating UV exposure in attic installations; support clamp compression marks causing stress risers.
Replacement Priorities by Neighborhood Vintage
| Construction Era | Primary Risk | Inspection Frequency |
|---|---|---|
| 1978-1985 | Polybutylene service line and distribution | Quarterly visual; immediate replacement if any indicators present |
| 1986-1992 | Polybutylene + early CPVC transition | Quarterly visual; professional assessment if mixed materials present |
| 1993-1995 | CPVC with possible polybutylene remnants | Annual visual; verify no buried polybutylene at main entry |
Replacement with PEX-A or copper is current standard in Las Vegas. PEX-A with expansion fittings carries 25-year manufacturer warranty and resists the thermal cycling that degrades earlier materials.
Stucco Expansion Joint and Weep Screed Protocol
Stucco in Las Vegas is not merely decorative. It’s a drainage plane system designed to manage incidental water penetration through controlled drainage paths. Two components control this function: expansion joints, which accommodate thermal movement, and weep screed, which provides drainage exit at the slab interface. When either fails, water enters wall cavities and travels horizontally along top plates, often manifesting as ceiling damage far from the entry point.
Expansion Joint Inspection
Las Vegas stucco experiences extreme thermal expansion: a 100-foot wall can move 3/4 inch between summer peak and winter night. Expansion joints are installed at maximum 144 square feet of stucco area, at floor-line changes, and at building corners. The sealant material must remain flexible to accommodate this movement.
- Locate all expansion joints: Walk the perimeter with a tape measure, marking joint locations on a sketch. Compare to the 144-square-foot rule; absence of required joints indicates original construction defect requiring professional evaluation.
- Probe sealant flexibility: Press with thumb. Proper sealant (typically polyurethane or silicone) depresses and rebounds. Hardened, cracked, or separated sealant has reached end of service life.
- Measure crack width: Use a crack comparator card or ruler. Joints showing consistent width year-round are functioning. Joints that are compressed shut in summer and gapped in winter indicate failed bond or missing backer rod.
- Check for stucco spalling at joint edges: Chipped or crumbling stucco at joint boundaries indicates water has entered and frozen in wall cavity, or that joint movement is now crushing the stucco rather than being absorbed by sealant.
Weep Screed Inspection
Weep screed is the L-shaped metal flashing at the base of stucco walls that provides drainage path and termination edge. In Las Vegas, it’s frequently buried by subsequent landscaping, patio additions, or grade changes.
- Expose weep screed: Remove soil or debris to reveal full height of screed. Minimum 4 inches should be visible above final grade per current code; original installations may show less.
- Verify weep holes are open: These small perforations allow drainage; they clog with stucco overspray or debris. Clear with wire or compressed air.
- Check for rust-through: Galvanized steel screed in contact with soil corrodes. Holes or thinning indicate drainage function is compromised.
- Inspect for grade slope toward foundation: Hardscape or landscape irrigation should slope away; ponding at weep screed forces water into wall system.
Cosmetic hairline cracking in stucco surface is normal and does not indicate water intrusion. The critical distinction: cracks that align with expansion joint locations or that show staining, efflorescence (white powder), or organic growth indicate active water management failure requiring remediation. In Las Vegas’s low humidity, any visible organic growth on stucco is a significant indicator of sustained moisture.
Evaporative Cooler Maintenance: The Overlooked Ceiling Risk
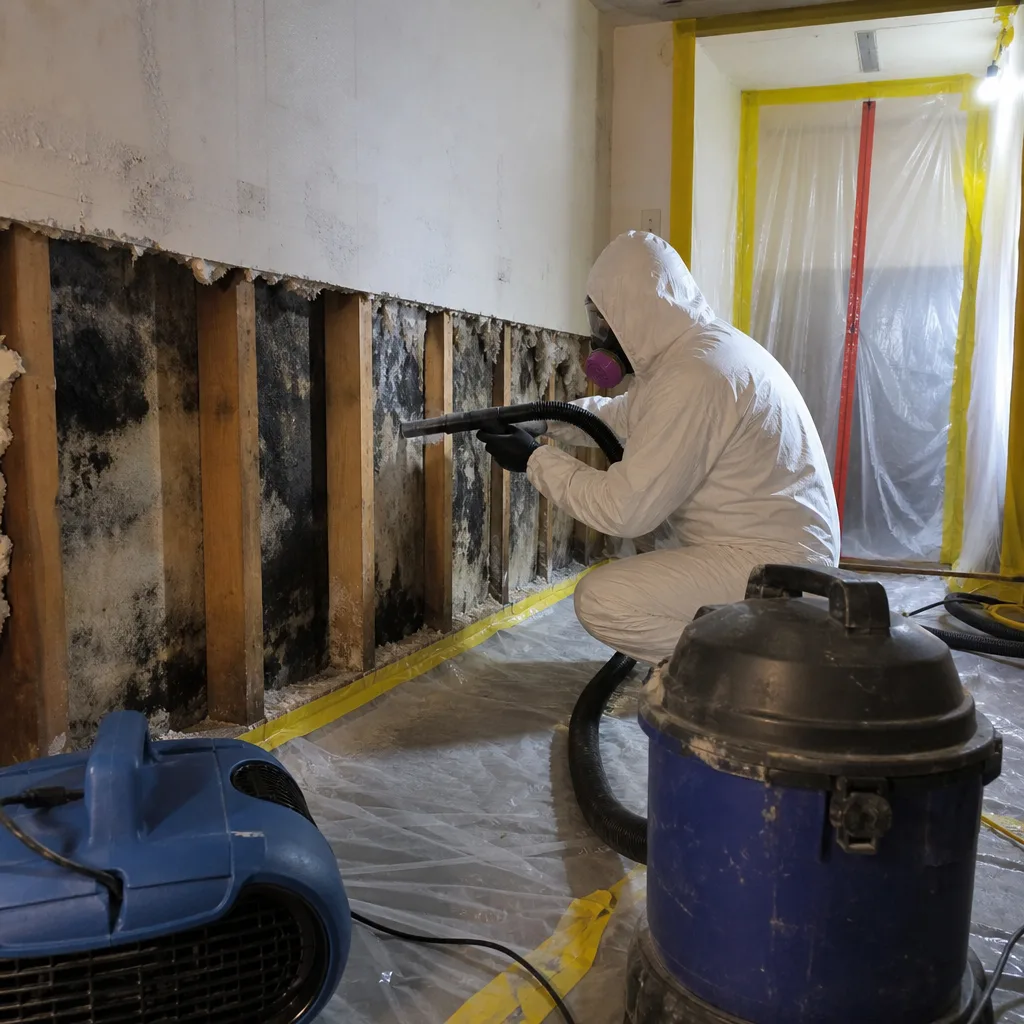
Whole-house evaporative coolers, still common in Las Vegas homes built before widespread air conditioning adoption and retained in many for cost efficiency, produce water damage through a mechanism no humid-climate checklist addresses: seasonal startup and shutdown overflow events.
The cooler works by pumping water over absorbent pads while a blower draws air through. Excess water collects in a pan and recirculates. A float valve maintains water level, similar to a toilet tank. When the float valve sticks, the overflow drain must handle full supply volume. When the overflow drain is clogged, or when pan integrity fails, water dumps directly onto ceiling drywall below.
May and September are peak failure months in Las Vegas. Homeowners switch systems, disturb accumulated mineral deposits, and often discover failures only when ceiling stains appear. We’ve documented cooler overflow losses exceeding $15,000 in finished ceiling and insulation damage in homes from Anthem to Henderson.
Biannual Cooler Inspection Protocol
- Before first use (typically April-May): Remove cooler panels, inspect pan for rust holes or plastic cracks. Check float valve operation by manually lifting; should move freely and shut off water flow completely. Verify overflow drain is clear of debris and discharges to roof surface or gutter, not into attic space.
- Check pump and distribution tubing: Cracked tubing misdirects water onto roof or into attic rather than onto pads. Pump failure can cause dry-run overheating or uncontrolled water flow depending on system design.
- Verify blower belt tension and alignment: Misalignment causes vibration that can crack plastic pans or loosen drain fittings over a season.
- At shutdown (typically September-October): Drain pan completely, clean mineral deposits with diluted white vinegar solution, disconnect water supply at shutoff valve. Many Las Vegas homeowners leave water connected year-round; freeze risk is minimal but valve degradation from constant pressure is significant.
- Inspect ceiling below cooler: Use flashlight to check for any staining, texture changes, or nail pops indicating historical moisture events. Document with dated photos.
Consider upgrading to a secondary drain pan with independent overflow alarm if your cooler is positioned above finished living space. The $200 investment prevents the $2,000-$8,000 ceiling restoration we perform regularly in Las Vegas’s older neighborhoods.
For homes that have converted to refrigerated air, verify that cooler removal included complete duct sealing and roof penetration closure. Abandoned cooler curbs with incomplete sealing are common water entry points during Las Vegas monsoon events.
How to Photograph and Date Your Pre-Loss Condition Record
Insurance claim disputes in Las Vegas frequently center on the question of pre-existing damage versus sudden loss. A documented pre-loss condition record, created by the homeowner and stored off-site, shifts this dispute decisively. The key is procedure: what to photograph, how to date it, and where to store it so it’s admissible and accessible.
Required Photo Documentation
- Wide shots of each room: Stand in corner, capture two walls, ceiling, and floor. Use consistent angles year to year for direct comparison.
- Close-ups of high-risk areas: Water heater connections, washing machine hoses, visible plumbing in cabinets, stucco expansion joints, weep screed at two locations, evaporative cooler pan and float valve.
- Appliance nameplates: Document age of water heater, HVAC equipment, and cooler. Age predicts failure probability.
- Moisture meter readings: Photograph the meter display in contact with the measured surface, with a handwritten date card visible in frame.
Dating and Authentication Protocol
- Use a newspaper or printed date source visible in at least one frame, or enable camera timestamp with GPS if your device supports verified location tagging.
- Upload to cloud storage with automatic date stamp: Google Photos, iCloud, or Dropbox. The upload timestamp creates third-party verification independent of camera settings.
- Email the full set to yourself at a dedicated address; email server timestamps are court-admissible evidence of existence at a point in time.
- Store a copy with your insurance agent or in a safe deposit box; cloud accounts can be compromised, physical or institutional copies provide redundancy.
Update this record annually, ideally in March before monsoon season and before summer cooling demand. Update immediately after any maintenance, renovation, or appliance replacement.
At water damage restoration in Las Vegas, we begin every job with our own photo documentation using the same principles. When a homeowner can produce a comparable pre-loss record, we can immediately establish the scope of sudden damage versus pre-existing condition, accelerating both restoration and claim resolution. The Haven Standard requires our photo record on every visit; your own record, created with the same discipline, makes that documentation mutually reinforcing.
Annual Maintenance Calendar
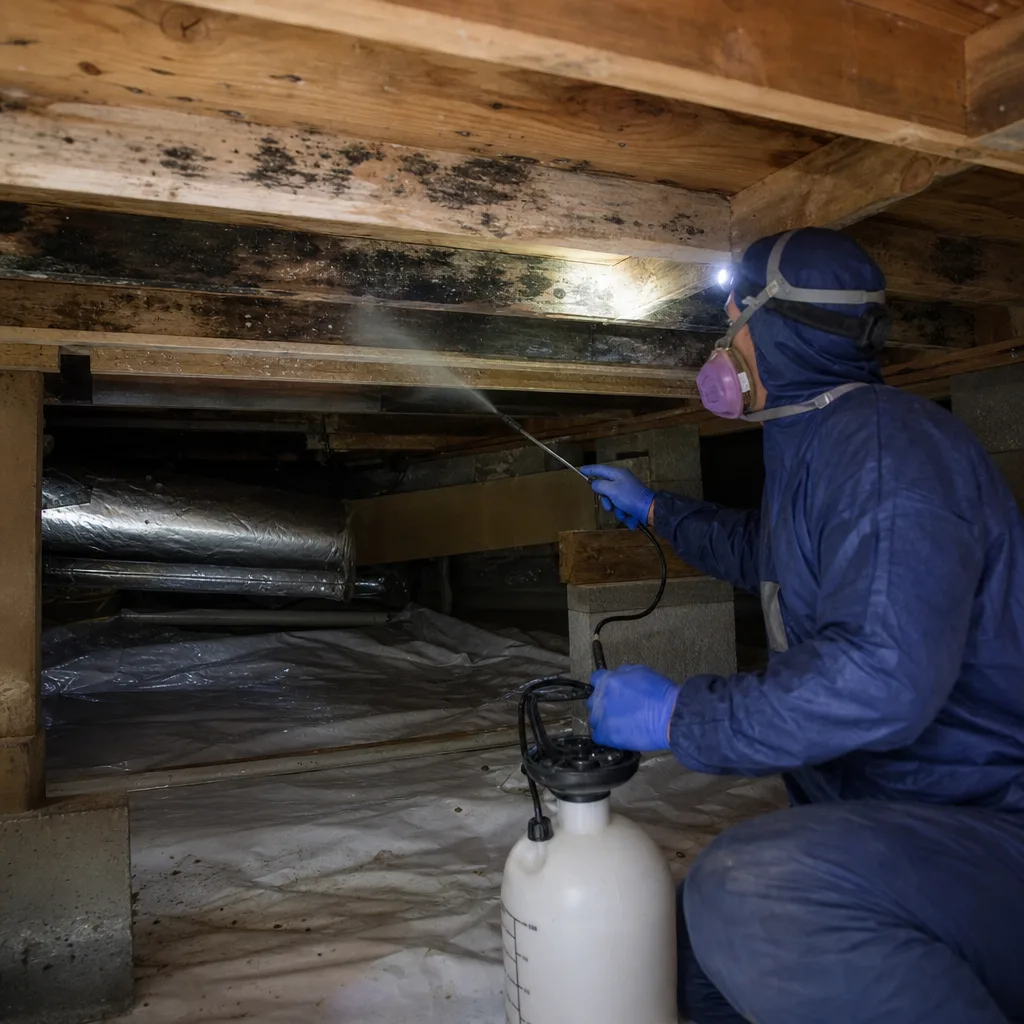
| Month | Task | Time Required |
|---|---|---|
| March | Establish annual baseline moisture readings; photograph pre-loss condition record; inspect stucco expansion joints after winter thermal cycling | 3-4 hours |
| April | Evaporative cooler startup inspection: pan, float valve, overflow drain, pump, distribution tubing | 1-2 hours |
| May | Verify cooler operation after first week of use; check ceiling below for any staining | 30 minutes |
| July | Mid-year moisture reading check in highest-risk rooms (bathrooms, laundry, kitchen) | 1 hour |
| September | Evaporative cooler shutdown: drain, clean, disconnect supply; inspect for season-end damage | 1-2 hours |
| October | Inspect stucco weep screed after monsoon season; verify drainage paths clear; check for any staining or efflorescence | 1-2 hours |
| November | Plumbing inspection: all visible supply lines, valves, connections; test water heater TPR valve | 2 hours |
Quarterly tasks (15 minutes each): test GFCI outlets in wet locations, verify washing machine auto-shutoff connectors if installed, inspect toilet flapper function with dye test, run water into floor drains to maintain trap seals.
Common Mistakes to Avoid
- Applying humid-climate checklists to desert construction. Gutter cleaning and basement sump pump testing are irrelevant for 90% of Las Vegas homes; they displace attention from evaporative coolers and slab plumbing that actually fail here.
- Replacing only the visible section of polybutylene. We’ve restored homes where homeowners replaced the sink connection but left the slab line, which failed catastrophically six months later. Systemic material failure requires systemic replacement.
- Ignoring “minor” ceiling stains. In Las Vegas’s low humidity, a visible stain represents significant water volume and sustained wet time; drywall may read 30%+ moisture content behind apparently “small” surface discoloration.
- Burying weep screed with landscaping or hardscape additions. Every patio pour, paver installation, or grade recontouring that covers weep screed converts a drainage system into a water trap. Verify exposure before and after any exterior project.
- Skipping the written price requirement for “small” repairs. Haven Standard, Clause 1 applies to all work, but homeowners often waive it for handyman plumbing or cooler service. Without a written scope, you have no documentation if that repair fails and causes damage.
- Storing pre-loss photos only on a phone. Phones fail, are lost, or are replaced without complete data transfer. Automated cloud upload with email backup is minimum viable protection.
- Waiting for visible damage before calling. By the time Las Vegas homeowners see ceiling staining, insulation is saturated, framing may be affected, and mold growth threshold (typically 48-72 hours at 60%+ relative humidity in wall cavity) may be exceeded.
When to Call a Professional
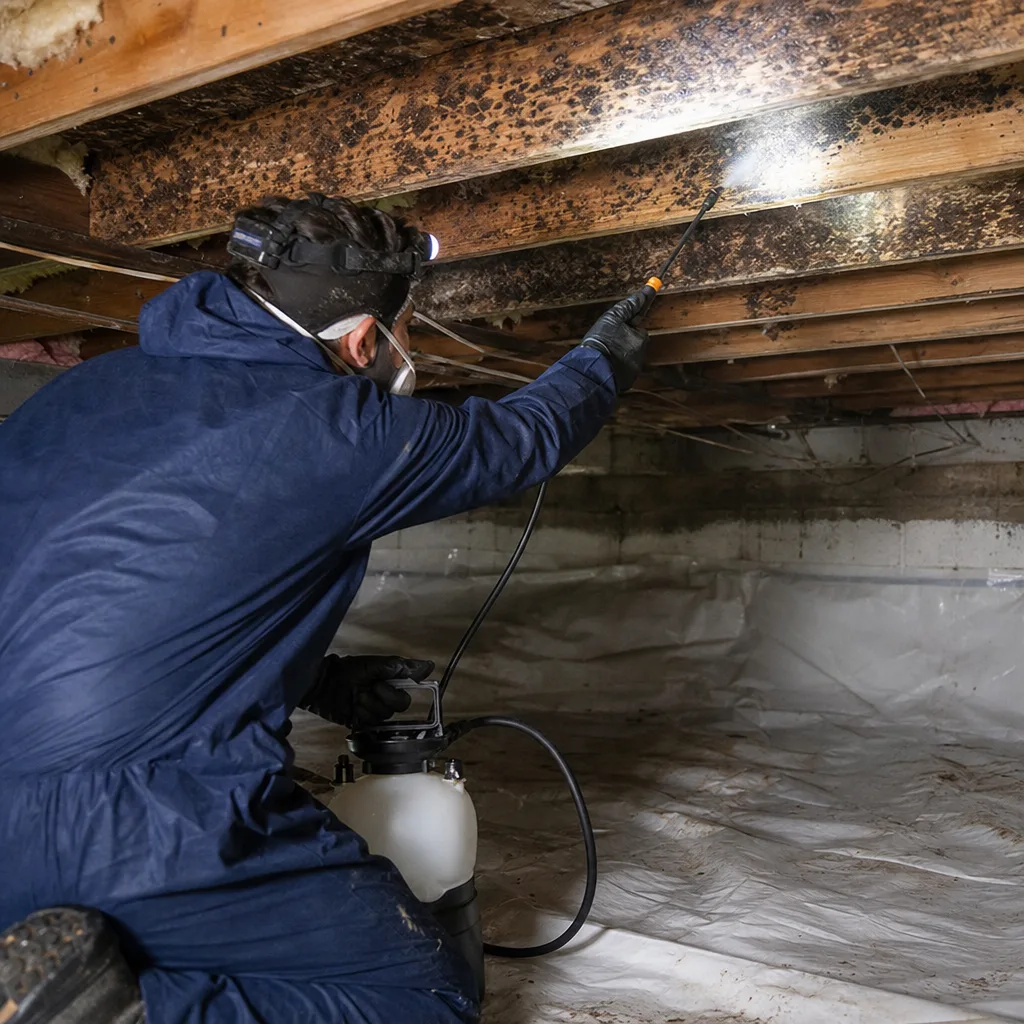
Call for professional assessment when: moisture meter readings exceed baseline by more than 3 percentage points in any material; you discover polybutylene piping of any vintage; stucco cracks show staining, efflorescence, or organic growth; your evaporative cooler pan shows rust, cracks, or has overflowed even once; or you identify any ceiling staining, texture change, or nail pop. These indicators indicate active or imminent water damage that preventive maintenance alone cannot resolve. Browse our more guides & resources for additional prevention strategies.
DryMark Restoration Las Vegas offers free estimates in Las Vegas - call (702) 483-7932. Every assessment includes a written scope and price before any work begins, documented to IICRC standards with photo record, under our 365-Day Done Right Promise. We also provide free second opinions on any competitor’s written estimate.
Frequently Asked Questions
Our Damage Restoration Cost Breakdown: The Las Vegas Homeowner’s Reference for 2026 shows water damage restoration in Las Vegas typically ranges from $1,200 for limited Category 1 clean water extraction and drying of a single room, to $8,000-$15,000 for whole-house Category 2 or 3 losses with contaminated water, insulation removal, and reconstruction. Category 3 sewage losses with slab involvement can exceed $25,000. The single largest cost variable is response time: losses addressed within 24 hours require significantly less demolition and reconstruction than those left wet for 72+ hours. DryMark Restoration Las Vegas provides a written price before any work starts on every job - call (702) 483-7932 for an exact quote; estimates are free.
Standard HO-3 policies cover sudden and accidental water discharge but exclude damage from maintenance neglect, gradual leakage, or repeated seepage. The distinction often hinges on documentation: a burst supply line with documented annual inspection history is typically covered; the same line with visible corrosion ignored for years may be denied. Your pre-loss moisture readings and maintenance photos become the evidence that establishes sudden versus gradual loss. We coordinate directly with adjusters and document every job to IICRC, RIA, and IFA standards to support coverage determination.
DryMark Restoration Las Vegas maintains live phone coverage 24 hours a day, 7 days a week with no voicemail on emergency lines. For active water losses, we dispatch immediately upon call receipt; our typical response time across the Las Vegas valley is under 90 minutes. Speed matters because mold growth threshold is 48-72 hours, and structural damage to particle board subfloors and drywall compounds accelerates significantly after 24 hours of water contact. For non-emergency assessments, we schedule within 24 hours.
“Small” is a visual judgment, not a technical one. A 1-square-foot ceiling stain in Las Vegas can conceal 10+ square feet of saturated insulation and affected framing in the attic above. We use thermal imaging and pin-type moisture meters to map the actual wet footprint, then provide a written scope showing exactly what requires drying, what requires removal, and what is unaffected. The Haven Standard prohibits estimating by visual guess; every scope is instrument-verified. Call (702) 483-7932 for assessment; estimates are free.
We do. Our documentation - daily moisture logs, photo records, written scopes, and material classification by IICRC category - is formatted specifically for adjuster review. We communicate directly with your adjuster, provide supplemental documentation on request, and attend adjuster site visits when scheduled. Our founding origin is the documentation gap that costs homeowners their claims; our daily drying logs and photo-documented assessments are designed to close that gap before it becomes a dispute.
For Las Vegas’s desert climate, we target return to pre-loss baseline plus 2 percentage points maximum. In practice, this means wood framing at 10% or below, drywall at 9% or below, and concrete slab at 4.5% or below by calcium chloride equivalent. These targets account for Las Vegas’s extreme summer dryness; over-drying can damage materials, so we monitor with daily psychrometric data including vapor pressure differential and equilibrium moisture content calculations. Our equipment - including XPOWER air movers and B-Air dehumidification systems - is selected and positioned based on this data, not rule-of-thumb placement.
Category 1 clean water losses under 10 square feet, with no insulation involvement and response within 4 hours, can sometimes be managed by homeowners with proper extraction and drying equipment. However, most Las Vegas losses involve Category 2 or 3 water, affected insulation in flat roof or attic spaces, or concealed wet areas behind stucco or in slab-on-grade construction. We do not recommend DIY for: any sewage or gray water loss; any loss with potential electrical panel or outlet involvement; any loss where the water source is still undetermined; or any loss affecting HVAC ductwork. The safety risks - electrical shock, structural collapse of waterlogged drywall, and exposure to sewage-borne pathogens - exceed the cost savings for most homeowners. Professional assessment is free and provides documentation that protects your claim rights.
The Bottom Line
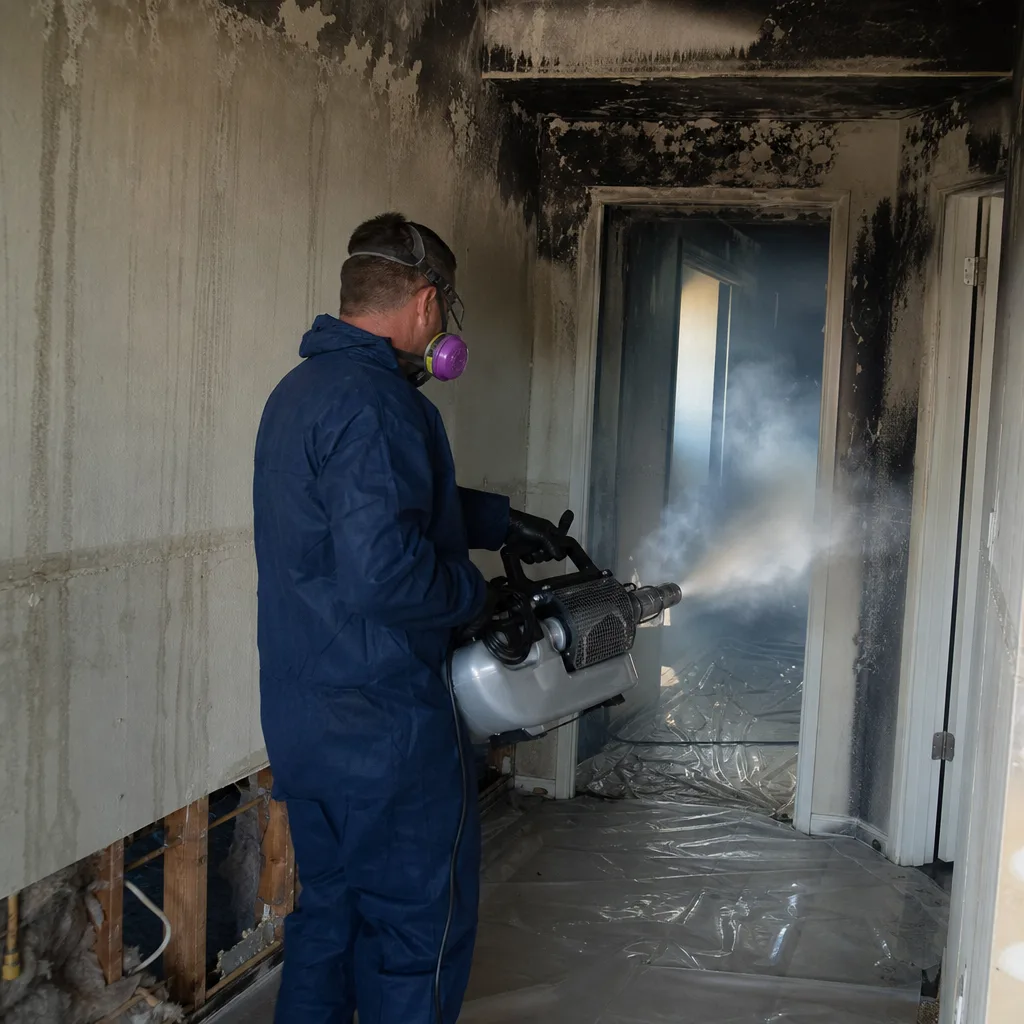
Las Vegas water damage prevention requires a checklist built for desert construction, not imported from humid climates. The actual failure points - polybutylene supply lines in pre-1995 homes, stucco expansion joints and weep screed buried by decades of landscaping changes, and evaporative cooler overflow during seasonal transitions - are inspectable, measurable, and preventable. Establish baseline moisture readings annually. Photograph your pre-loss condition with dated, stored records. Replace polybutylene completely, not partially. Inspect your cooler before each season change. And when indicators exceed thresholds, call for professional assessment before visible damage appears. The documentation you create today becomes the evidence that protects your claim tomorrow.
Written by Alicia Brennan, Owner at DryMark Restoration Las Vegas, serving Las Vegas since 2011.